CamaroDMD
Insert Cool Title
This will be the final part to our tutorial. During this part, I will discuss how to assemble the card sheet and then finish the project. At this point, you should have a front sheet and a back sheet printed on photo paper.
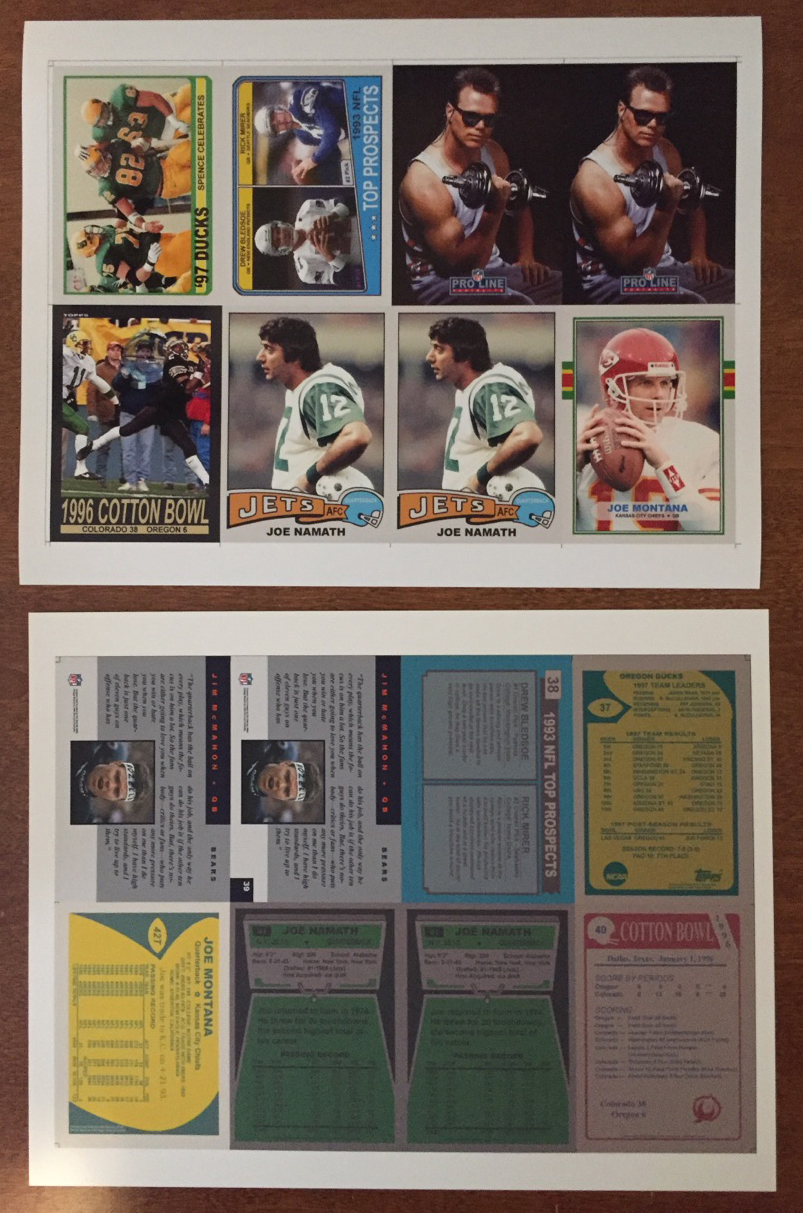
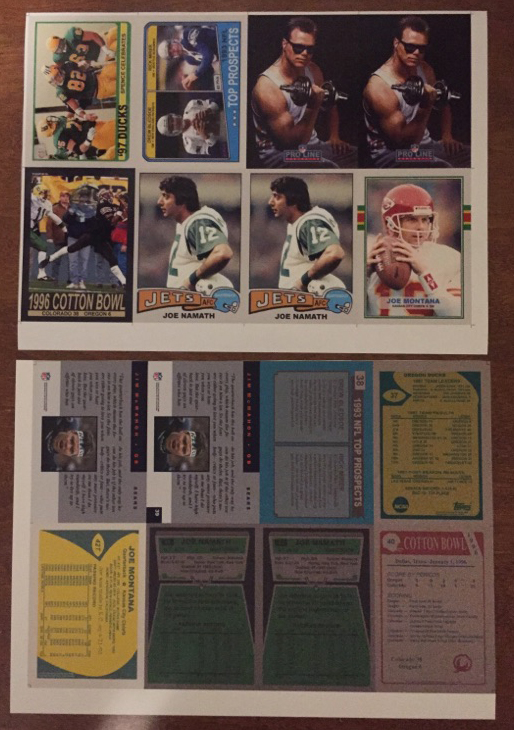
This is where the guide lines come into play. I have found that with my printer, I am unable to print a sheet perfectly in the center of the paper. There is a setting for it, but there is enough inaccuracy built into the feeding of the paper or something that has proven to make it impossible for each sheet to be perfectly centered...for me. As a result, I have had to use these guide lines.
The guide lines are a known distance from the top and the left side for the front sheet...and the exact same known distance from the right side and the top for the back sheet. As a result, we can use the guide lines to properly orient our front and back sheets to ensure the centering of the cards is as close as possible (for both the front and back). There will always be a little error built into the process, so the centering of one side probably won't be perfect. But, it will be close.
Carefully cut the sheets along the guide lines. This should leave you with a thin band of white paper around the boarder of the front sheet on the left and top. For the back sheet, this should leave you with color to the edge of the sheet on the right and top.
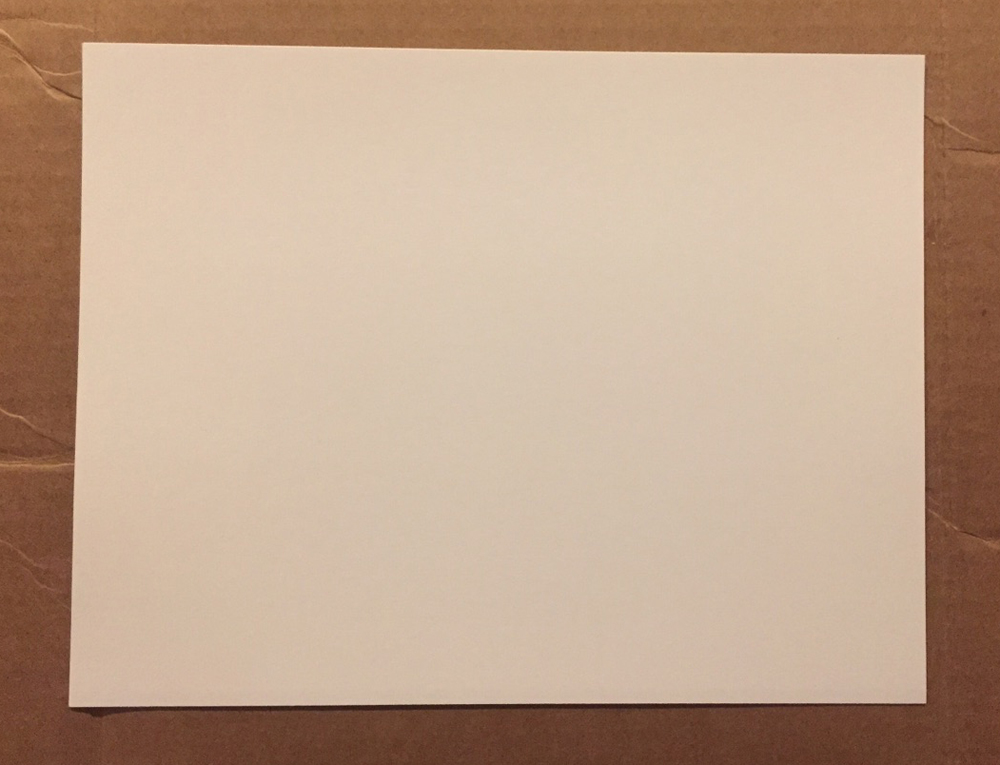
Next, take your 110lb white card stock and place it on a flat surface.
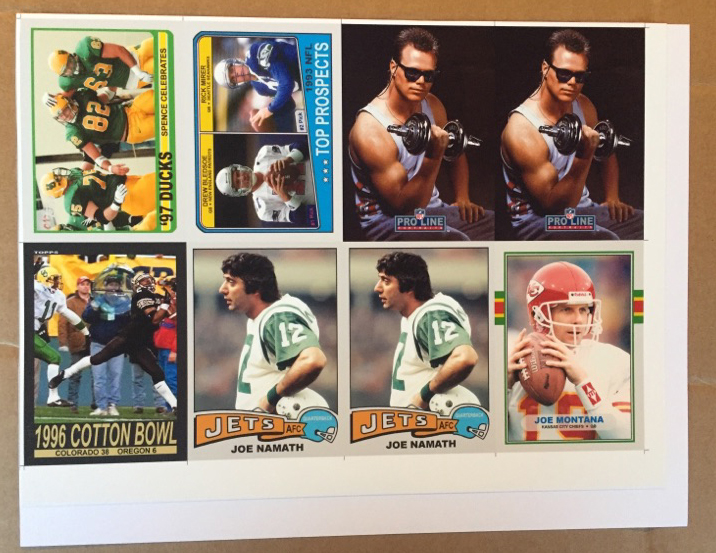
Apply a thin layer of spray glue to the back side of the front card sheet and carefully position it on the card stock. Take great care to line up the top and left sides (where you cut the guide lines) perfectly with the top and left sides of the card stock.
Turn the card stock over horizontally (meaning the front sheet should now be face down and in the upper right hand corner). Apply a thin layer of spray glue to the back side of the back card sheet and carefully position it on the card stock. Take great care to line up the top and right sides (where you cut the guide lines) perfectly with the top and right sides of the card stock. Now, allow it to dry completely.
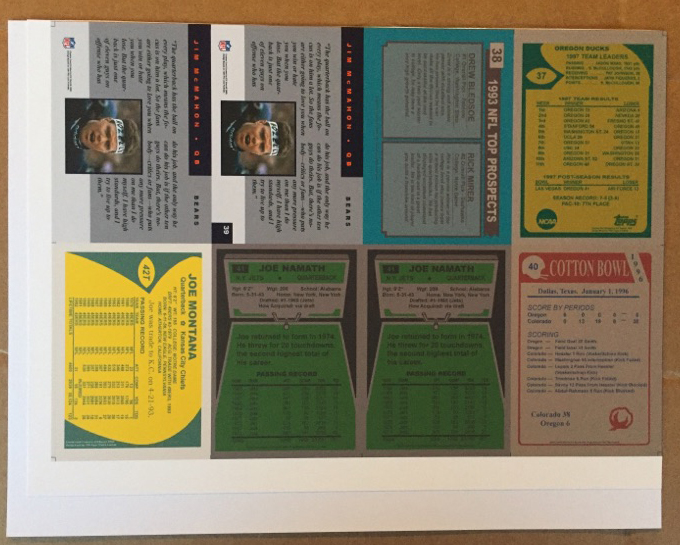
Next, take a ruler and with a pen extend the cut lines to the edge of the cardstock on the right side and on the bottom. Do this on the front side of the sheet. These will serve as guides when you cut the sheet.
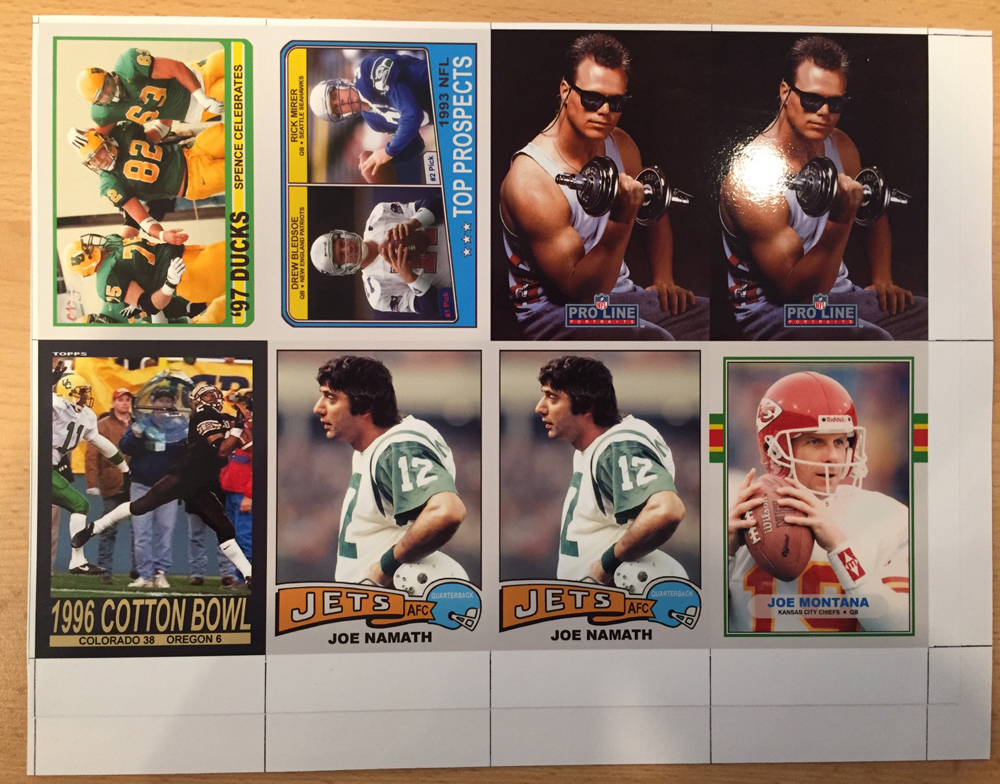
Now it’s time to start cutting the sheet into individual cards. I usually cut using the front side as a guide. As a general rule, you will never get the front and the back perfectly aligned when you glue them. So, you need to decide which side is more important for centering. For me, that’s the front. So, I cut the cards using that side to ensure they are well centered. Sometimes, that means the backs are not perfect.
So, with a good quality guillotine style paper-cutter, cut the cards along the cut lines. Normally, I cut the sheet in half as shown below.
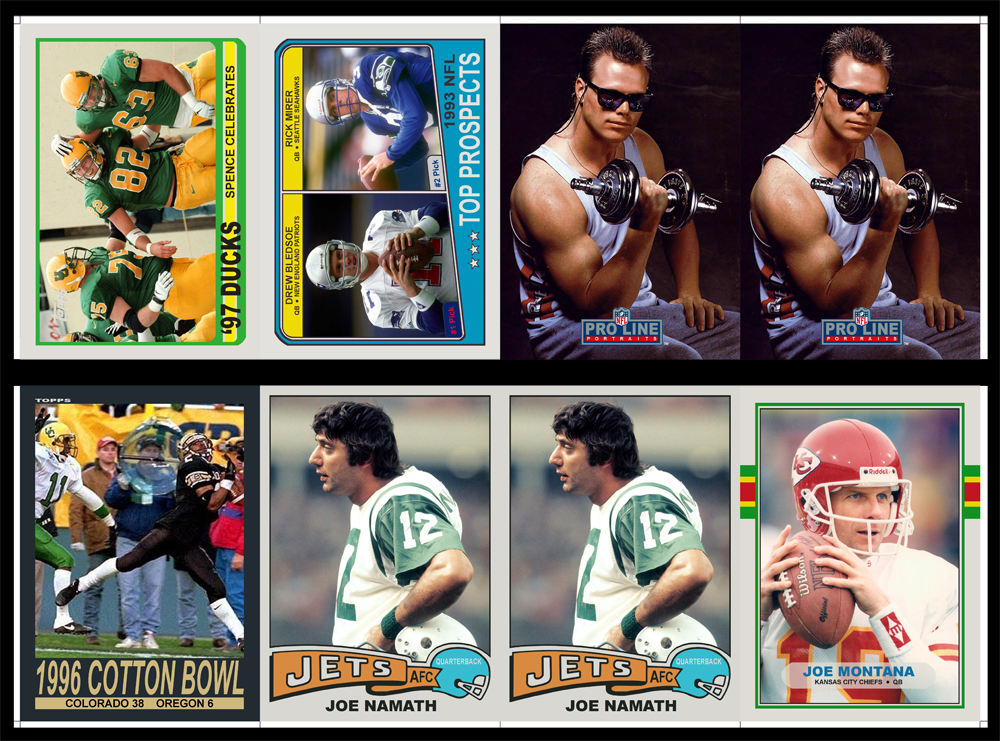
Then, I cut the cards apart.
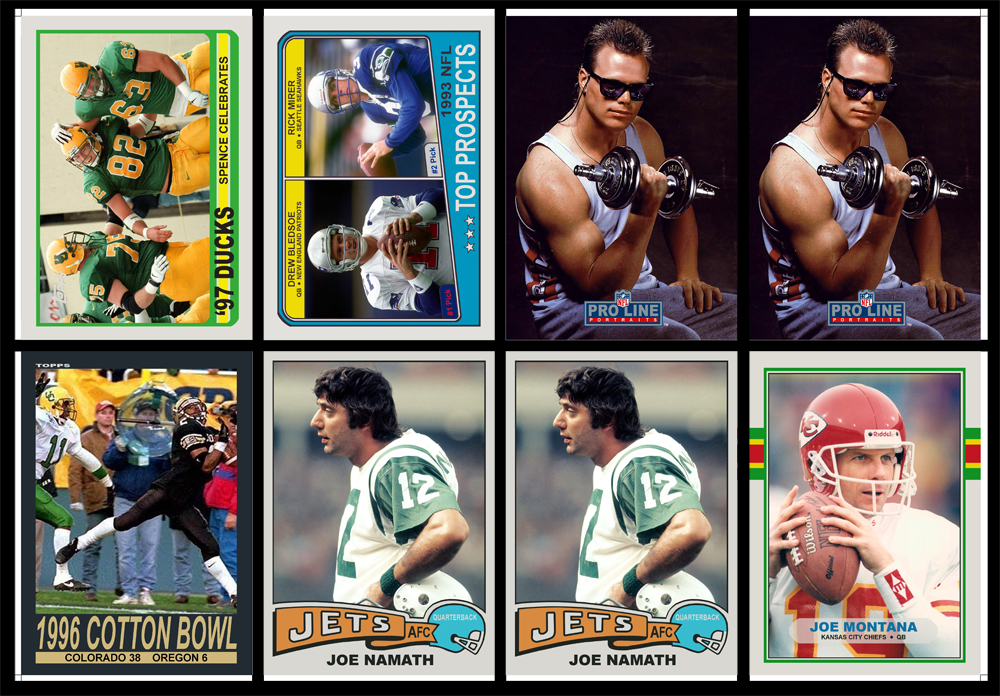
Once the cards are separated into 8 individual cards, I trim the excess sides (corner cards will have 2 sides to trim and middle cards will have 1 side to trim). In the case of our Joe Montana card...the right side and the bottom need to be trimmed.
At this point, you should have your card all trimmed out. Now, take a ruler and measure its size. You will likely find it is a little big.
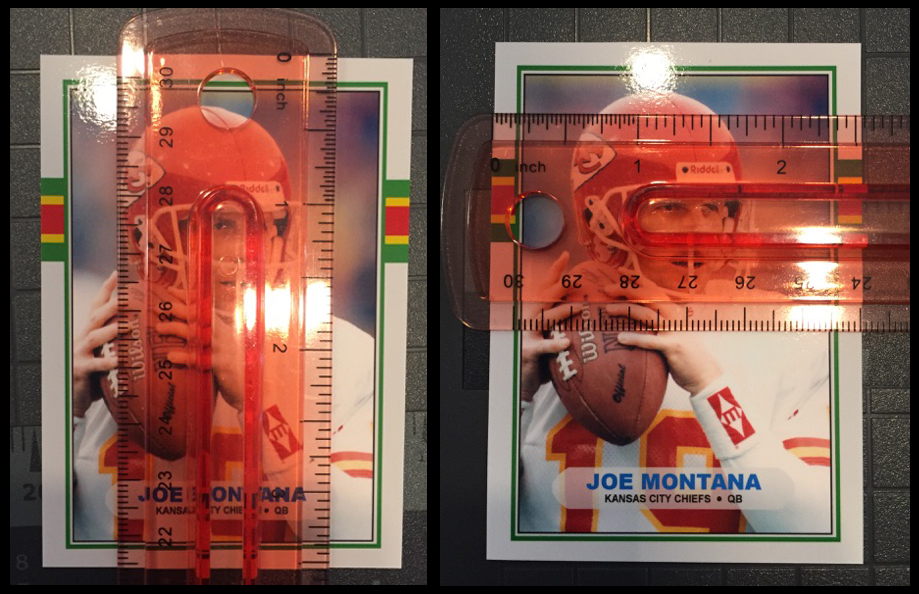
When I use the 7.143in height to print, the cards tend to come out a fraction of an inch too big. They should be 3.5in tall and 2.5in wide. You can see in the image above that the card is slightly bigger in all dimensions. Depending on how accurately you cut the cards, this could vary with each card. Measure each card.
Once you have established the degree to which the card is too big (and in what dimensions)…use your cutter again to carefully cut a little off the edges as needed. Be mindful of centering. It’s really easy to get your card off centered here.
It’s also really easy to over cut. You can see in mine, I slightly over-trimmed the height. But, it’s very close. Each custom is like a fingerprint…they are all unique.
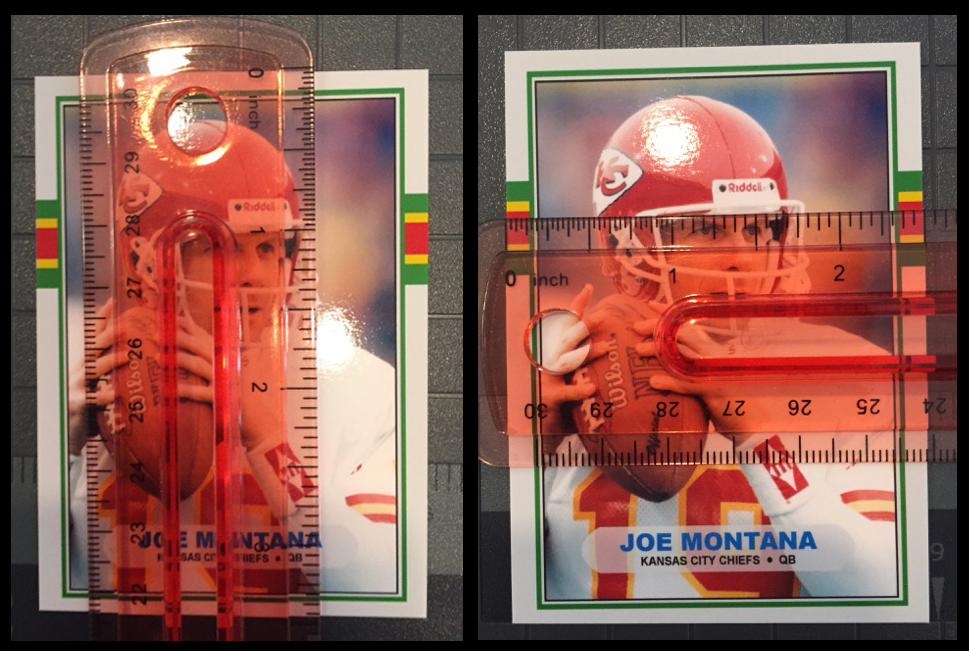
Now, you should have a finished product. In my case, you can see that the back is slightly off center but is very close. I think this one turned out quite nice.
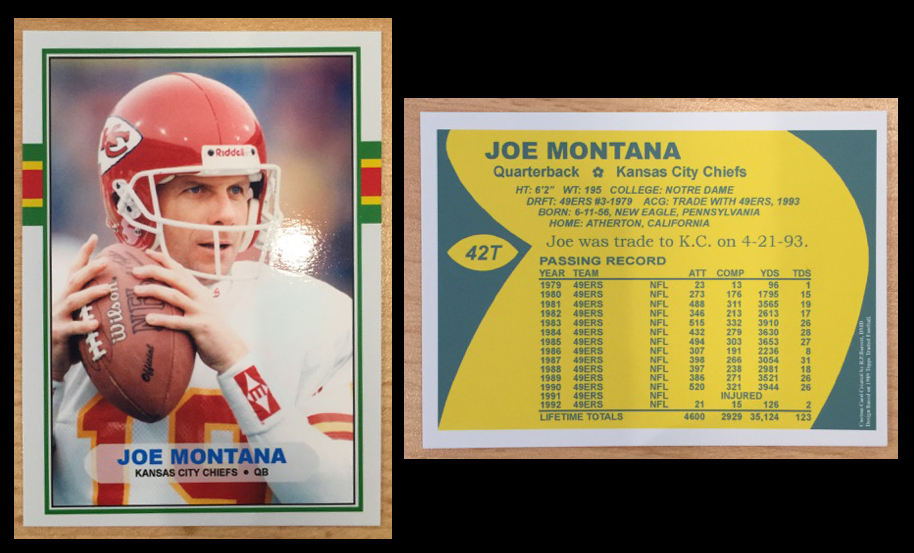
That concludes my tutorial. I have shown you how to create a custom card from first imagining a design…to designing…to printing…and finally finishing. I hope that I have provided you with the basic tools to produce your own work.
If you have any comments, thoughts or questions about any part of this tutorial, please don’t hesitate to ask.
Thank you for reading my tutorial.

This is where the guide lines come into play. I have found that with my printer, I am unable to print a sheet perfectly in the center of the paper. There is a setting for it, but there is enough inaccuracy built into the feeding of the paper or something that has proven to make it impossible for each sheet to be perfectly centered...for me. As a result, I have had to use these guide lines.
The guide lines are a known distance from the top and the left side for the front sheet...and the exact same known distance from the right side and the top for the back sheet. As a result, we can use the guide lines to properly orient our front and back sheets to ensure the centering of the cards is as close as possible (for both the front and back). There will always be a little error built into the process, so the centering of one side probably won't be perfect. But, it will be close.
Carefully cut the sheets along the guide lines. This should leave you with a thin band of white paper around the boarder of the front sheet on the left and top. For the back sheet, this should leave you with color to the edge of the sheet on the right and top.

Next, take your 110lb white card stock and place it on a flat surface.

Apply a thin layer of spray glue to the back side of the front card sheet and carefully position it on the card stock. Take great care to line up the top and left sides (where you cut the guide lines) perfectly with the top and left sides of the card stock.

Turn the card stock over horizontally (meaning the front sheet should now be face down and in the upper right hand corner). Apply a thin layer of spray glue to the back side of the back card sheet and carefully position it on the card stock. Take great care to line up the top and right sides (where you cut the guide lines) perfectly with the top and right sides of the card stock. Now, allow it to dry completely.

Next, take a ruler and with a pen extend the cut lines to the edge of the cardstock on the right side and on the bottom. Do this on the front side of the sheet. These will serve as guides when you cut the sheet.

Now it’s time to start cutting the sheet into individual cards. I usually cut using the front side as a guide. As a general rule, you will never get the front and the back perfectly aligned when you glue them. So, you need to decide which side is more important for centering. For me, that’s the front. So, I cut the cards using that side to ensure they are well centered. Sometimes, that means the backs are not perfect.
So, with a good quality guillotine style paper-cutter, cut the cards along the cut lines. Normally, I cut the sheet in half as shown below.

Then, I cut the cards apart.

Once the cards are separated into 8 individual cards, I trim the excess sides (corner cards will have 2 sides to trim and middle cards will have 1 side to trim). In the case of our Joe Montana card...the right side and the bottom need to be trimmed.
At this point, you should have your card all trimmed out. Now, take a ruler and measure its size. You will likely find it is a little big.

When I use the 7.143in height to print, the cards tend to come out a fraction of an inch too big. They should be 3.5in tall and 2.5in wide. You can see in the image above that the card is slightly bigger in all dimensions. Depending on how accurately you cut the cards, this could vary with each card. Measure each card.
Once you have established the degree to which the card is too big (and in what dimensions)…use your cutter again to carefully cut a little off the edges as needed. Be mindful of centering. It’s really easy to get your card off centered here.
It’s also really easy to over cut. You can see in mine, I slightly over-trimmed the height. But, it’s very close. Each custom is like a fingerprint…they are all unique.

Now, you should have a finished product. In my case, you can see that the back is slightly off center but is very close. I think this one turned out quite nice.

That concludes my tutorial. I have shown you how to create a custom card from first imagining a design…to designing…to printing…and finally finishing. I hope that I have provided you with the basic tools to produce your own work.
If you have any comments, thoughts or questions about any part of this tutorial, please don’t hesitate to ask.
Thank you for reading my tutorial.
